What is needed to hydroseed?
Site Access/ material storage/ road safety
We need access to the site for our hydroseeder and our ground preparation equipment, for large projects we’ll need an area where we can stage materials.
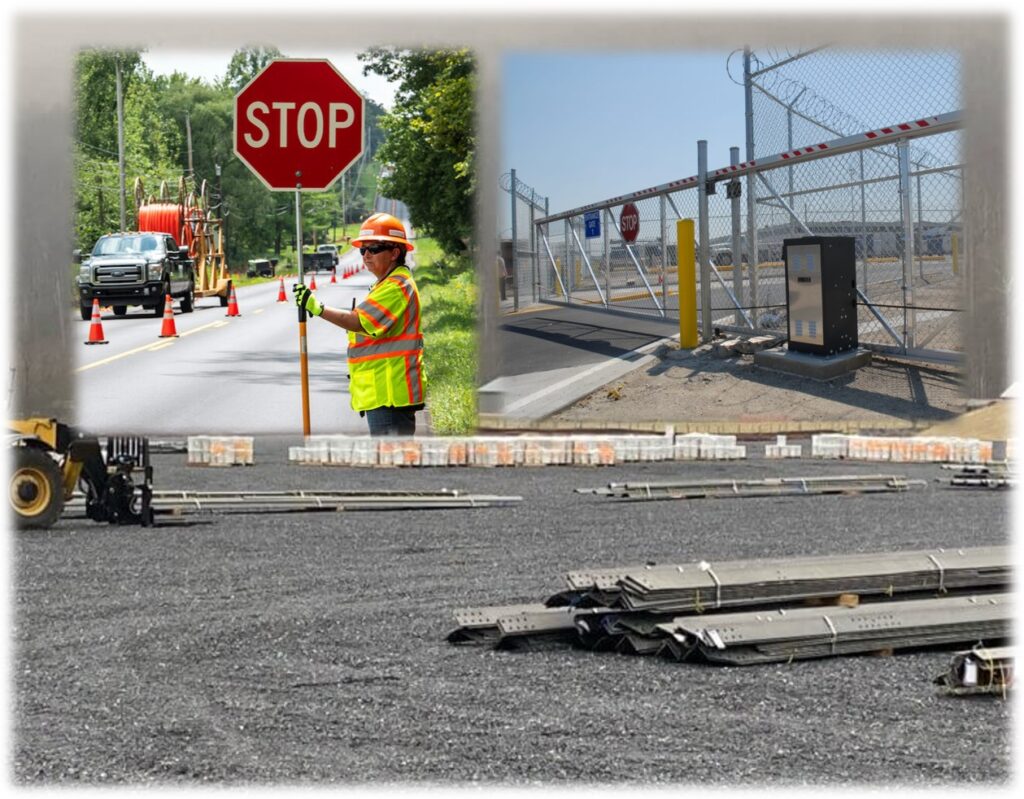
Gate Size:Physically we require the ability to get our equipment on your site:
– 10′ gate for large seeder
– 8′ gate for large ground preparation equipment
– 6′ gate for small ground preparation equipment
If we are only hydroseeding and using a hose, the gate requirement is a walk in gate with a location where we can park our hydroseeder while we drag hose.
Road Safety: On sites where we need to park/stop/or work adjacent to NC Dot or high speed roads, the customer is required to provide traffic control and safety flaggers as required.
Security/Safety Requirements: We will comply with security and safety requirements, however these need to identified and addressed in the quote/estimates.
Any requirement not addressed in the quote/estimate will be a change order and associated fees/costs will be transitioned to the customer.
Material laydown yard:On large projects we need a location on site to receive and store hydroseeding materials and equipment. The area needed will normally be somewhere around 12’X100′ (hydroseeder, forklift, and 1 semi’s worth of material) for projects less than 8 acres.
- Before you seed, the site needs to be prepared for seeding. This will include tilling the soil to at least 3 inches (or aerovating), and if you have a clay or sand base should include adding organic matter (or topsoil). You can do this yourself , or we can do it for you.
Ground Preparation has a number of requirements, we only include two in our estimates (Final Raking and Tilling the Soil).
Ground preparation requires:
- 1: Rough Grading and Debris Removal :Have a dozer or other equipment grade your property to its final grade and clear the area of any debris, such as rocks, roots, sticks, or old turf. These items can impede proper root growth and create an uneven surface. (We do not offer this service)
2: Till the Soil: till with a rototiller, power rake, TR3 Rake, or aerovate the soil with an areovator to loosen compacted soil. Tilling/aerovating improves soil aeration and drainage while allowing roots to penetrate deeper into the ground.
- 3: Leveling: Use a rake, soil cultivator, or aerovator or leveling board, smooth out any visible bumps or depressions in the soil. This step ensures an even surface for seeding.
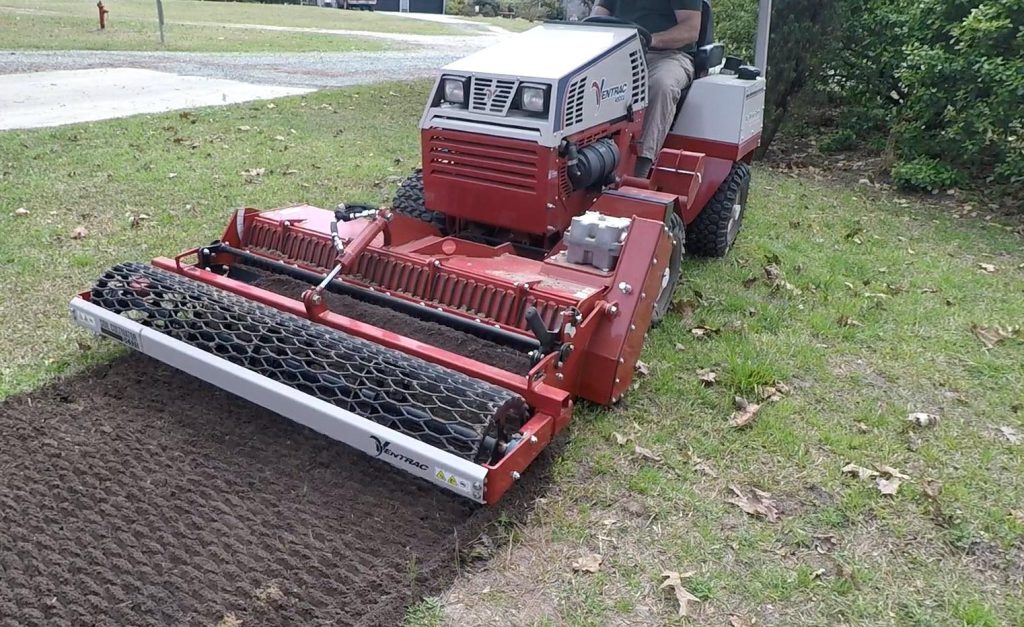
We have equipment for small to large projects:
- – Tractor with a TR3 rake for ground preparation capable of disturbing soil to a depth of 6-8″ (or less). We also have an Aerovator as an alternative that aerovates (breaks up the soil, while trying to keep current grass in place).
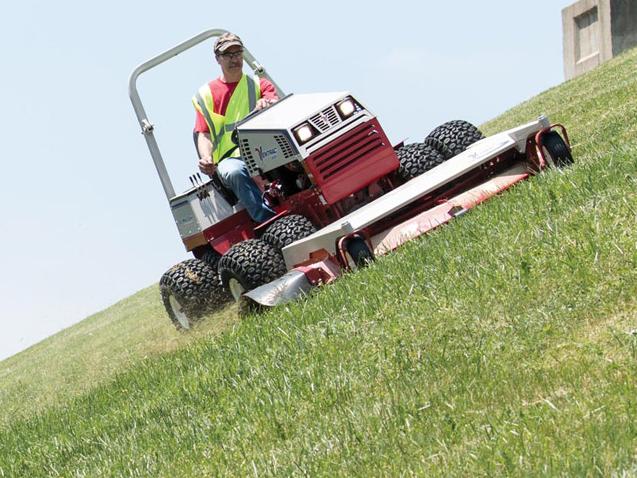
- – Ventrac Slope Tractor with a Soil Cultivator to prepare residential sites and slopes. We also have an aerovator for the Ventrac to use on small or steep sites.
- – Skid Steer with Power Rake or Land leveler.
Regarding organic matter we offer two products, Black Wonder 5000 and Profile Proganics Dual.
NOTE: A site that has been graded, or rolled and tamped is not a prepared site for seeding. The site must have the top 3 (+) inches of soil disturbed or tilled to enable water infiltration and provide access for roots to establish.
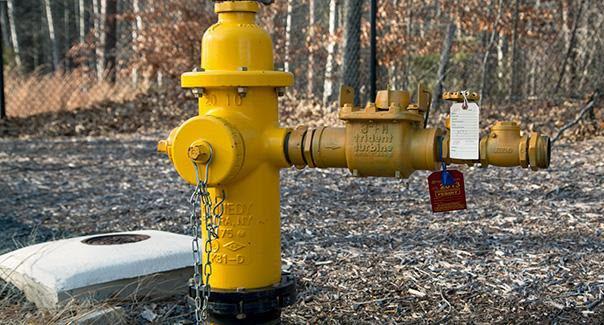
Water for hydroseeding
Hydroseeding requires water to me mixed with material and needs to be supplied from a bulk water point (fire hydrant or pond/lake you have permission to use). The process is that you contact the water company who will install the meter, we arrive and hook up to that meter and mix materials at the meter site, then we travel to your property (if the hydrant isn’t on your property) and we spray your site.
When we are finished hydroseeding, you contact the water company who removes the meter and bills you for the water consumed.
What to do after hydroseeding
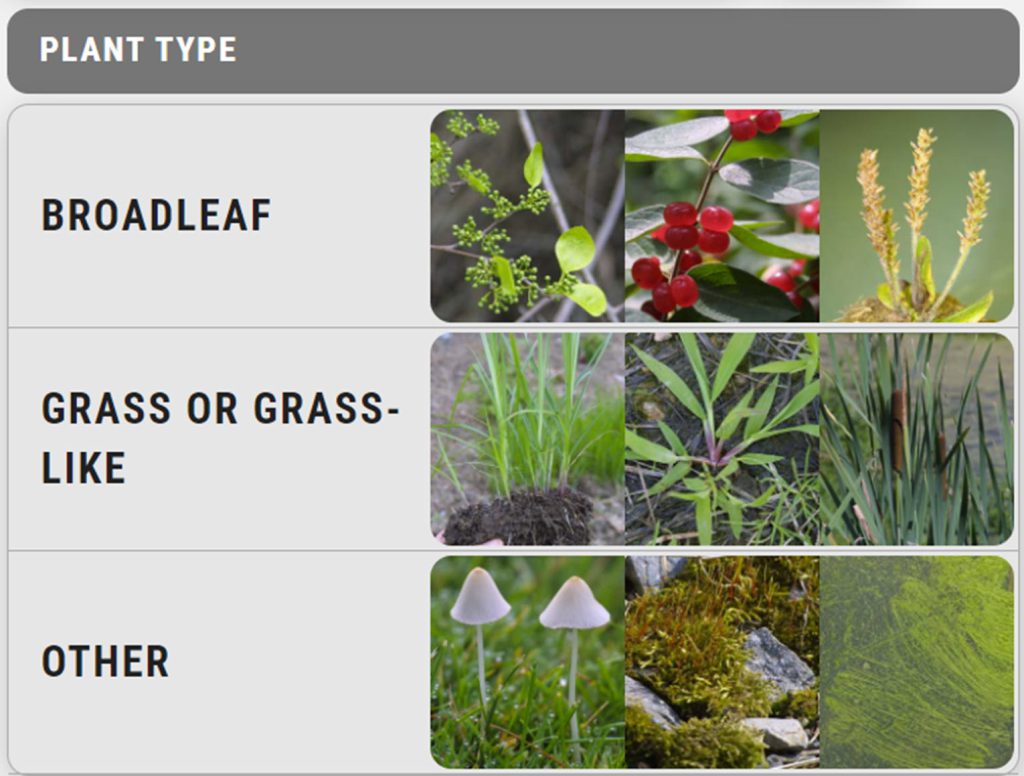
Weed Control
When soil is tilled to prepare it for seeding, dormant weed seeds become active and will grow as your seeded site establishes. More importantly, for residential customers if you have treated your yard for weeds prior to hydroseeding you MUST identify the “wait time” required prior to seeding (you can determine this from the herbicide label). If you seed prior to the “wait time” the herbicide will probably affect your seeded site.
After hydroseeding, you should wait until your seeded site is established prior to addressing weeds. Always read and follow the herbicide label. Applying herbicides to kill weeds frequently affects newly seeded turfs too…. follow the label. A good “Rule of Thumb” is to only apply pre-emergent herbicides after the 1st growing season.
Mowing: When and how to mow your hydroseeded project/lawn
Mowing your newly seeded site is important for both initial and long term ground cover/turf establishment.
1: Ensure that you have sharp blades. Dull blades have a high probability of ripping your seedlings out of the ground and mulching your investment.
2: Residential: your 1st mow should occur when your marker grass gets to around 2 inches tall. Set your mower deck to 2 inches and mow. Subsequent mowing should occur every 1-2 weeks and you’ll drop your mower height by 1/4 inch until your marker grass dies and then you will mow your turf to your desired height.
A: Centipede, Bahia, Carpet Grass – 1.5 inches
B: Bermuda – 1-1.5 inches
C: Fescue – 3 inches
3: Commercial: your 1st mow should occur when your nurse grass get to around ankle high (3-4 inches). Set your mower deck to 1/4 inch below the grass height and mow. Subsequent mowing should reduce deck height by 1/4 inch until your desired height is achieved.
A: It is important that commercial sites have a mowing regiment to ensure that the nurse seed doesn’t shade out and kill the targeted ground cover/turf.
4: Commercial/Residential: It is important that you mow frequently enough to ensure that mowed clippings do not smother your targeted grass. This can be addressed by using a bagger and dumping your clippings off site.
Zero Turn Mower Caution: Zero Turn mowers are fast and efficient, however they are death to seedings without a robust root structure unless the operator ensures that turns are done outside of the planted area (only mow in straight passes).
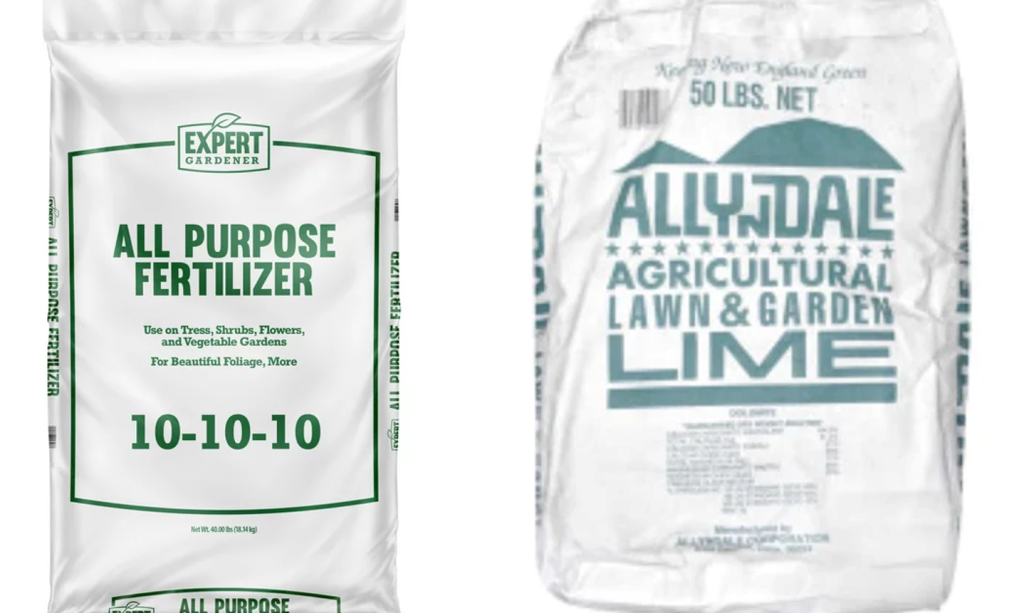
Fertilizer and Lime
Once the ground temperatures are above 70 degrees and your turf is out of dormancy you can fertilize. Centipede, Carpet Grass, and Bahia will take 1/2 to 1 lb of nitrogen per 1,000 SF once per year. Bermuda should be fertilized with 1 lb of nitrogen /1,000SF 2-3 times per summer depending on how much you want to thicken your turf.
For newly hydroseeded sites, we do not recommend adding lime or fertilizer on sites seeded with Centipede, Carpet Grass, or Bahia until the second season. Bermuda can be fertilized 60 days after seeding, and can be fertilized every 30 days to increase growth (1/2 to 1 pound of nitrogen/1,000SF), (don’t add lime until the following season).
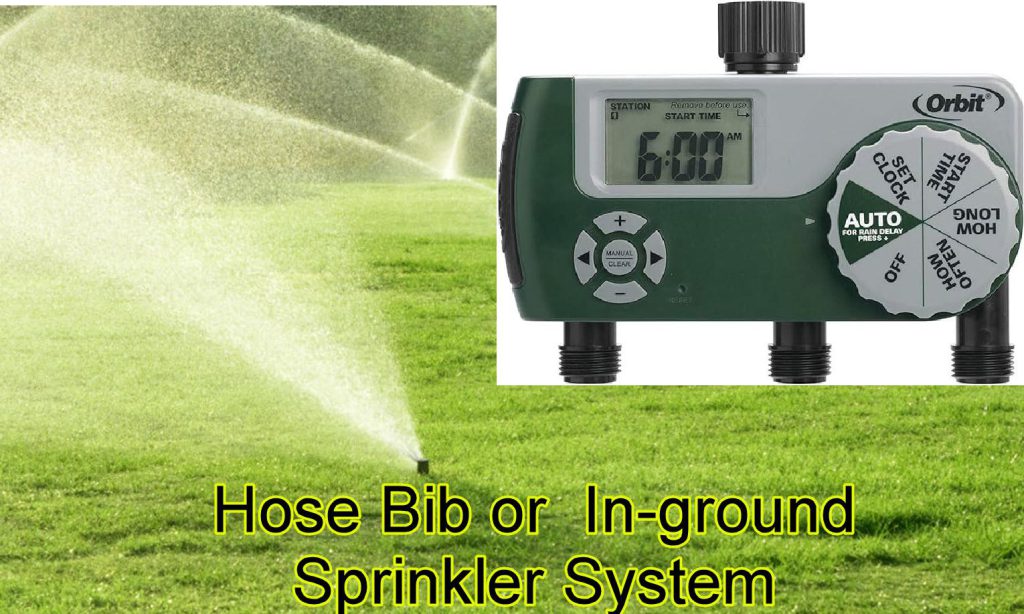
Watering your hydroseeded site
For residential sites we recommend watering your site at least once a day, try to water ~1 inch (get a Copenhagen or Skoal can and place it on your yard, when it’s full you’ve identified how long to set your sprinkler.
The goal is to keep your mulch moist, in the spring early morning watering may be adequate, in the heat of the summer you may want to increase this to 2 or 3 times per day with a lower amounts of water per watering (e.g., 1/2 inch of water 3 times per day vs 1 inch of water in the morning in spring).
Your Marker Grass will begin growth 1st around 7-days after seeding and you can use this grass to help you determine how frequently, and how much to water. When the marker grass begins to wilt you need to water, you can adjust your irrigation schedule to water a few hours earlier, or add water (e.g. 3/4″ vs 1/2″ of water per cycle).
Maintain this schedule until your turf is mowed at least twice, then adjust your irrigation schedule until you determine your optimal watering schedule (once every two or 3 days).
On commercial sites, if weather proves to be inadequate, you may need to install a temporary irrigation system to establish your ground cover. The concern is that your ground cover germinates, and then a week or two of no rain and your seedlings begin to die. You’ll need water!